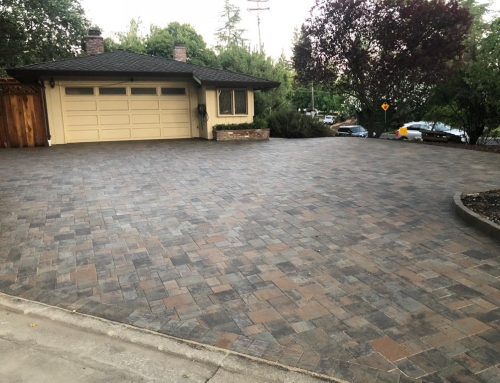
Dreaming of hosting unforgettable gatherings in your backyard? An outdoor kitchen is the perfect solution. Whether you’re a seasoned grill master or simply love entertaining, this guide will help you plan, build, and enjoy your own culinary oasis.
How Do I Plan My Outdoor Kitchen?
Planning is the cornerstone of any successful outdoor kitchen project. Here’s a step-by-step guide to get you started:
- Define Your Needs: Determine how you’ll use your outdoor kitchen. Will it be primarily for grilling, or do you envision a full-fledged cooking area? Consider the number of people you’ll typically entertain.
- Choose a Location: Select a spot that’s convenient to your home, has easy access to utilities, and offers a pleasant outdoor experience. Consider factors like sun exposure, privacy, and views.
- Set a Budget: Determine how much you’re willing to invest in your outdoor kitchen. This will help you prioritize features and materials.
- Design Layout: Create a functional and aesthetically pleasing layout. Consider the workflow, appliance placement, storage, and seating areas.
- Select Materials: Choose materials that suit your style and budget. Popular options include stone, brick, stainless steel, and wood.
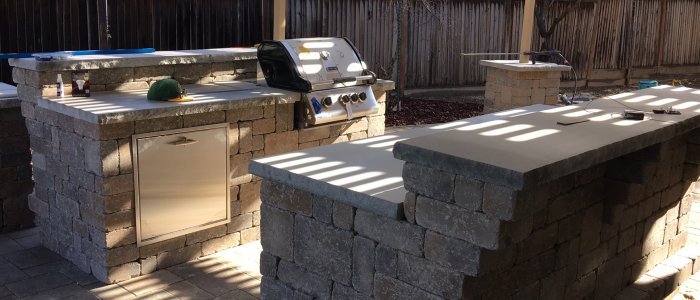
- Consider Appliances: Decide on the essential appliances for your kitchen. This might include a grill, refrigerator, sink, and outdoor oven.
- Plan for Utilities: Arrange for gas, water, and electrical hookups. Consider the best location for these utilities to avoid safety hazards.
How to Build a Basic Outdoor Kitchen?
If you’re handy and enjoy DIY projects, building a basic outdoor kitchen can be a rewarding experience. Here’s a simplified approach:
- Prepare the Area: Clear the site, level the ground, and prepare a solid base for your kitchen structure.
- Build the Structure: Construct a frame for your kitchen using materials like wood or metal.
- Install Appliances: Mount your grill, refrigerator, and other appliances securely.
- Add Countertops: Install your chosen countertop material, ensuring proper support.
- Plumbing and Electrical: Connect your sink and electrical outlets, following local codes and safety guidelines.
- Finishing Touches: Add storage cabinets, shelves, and other accessories to complete your outdoor kitchen.
Remember: Building codes vary by location. Always obtain necessary permits and comply with local regulations. If you’re unsure about any aspect of the construction process, consider hiring a professional Outdoor Kitchen Contractor in Kensington CA.
What is the Minimum Space for an Outdoor Kitchen?
The minimum space required for an outdoor kitchen depends on your specific needs and layout. However, a general guideline is to allocate at least 100 square feet for a basic setup.
This space allows for a grill, countertop, and some storage. For larger kitchens with multiple appliances and seating areas, you’ll need more space.
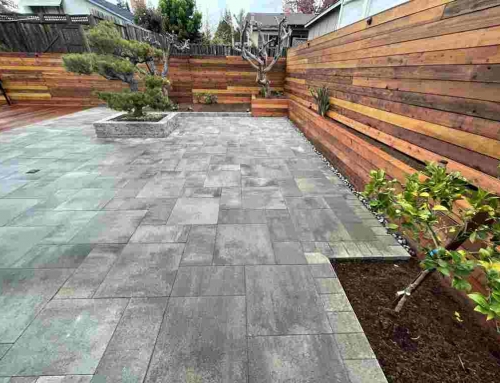
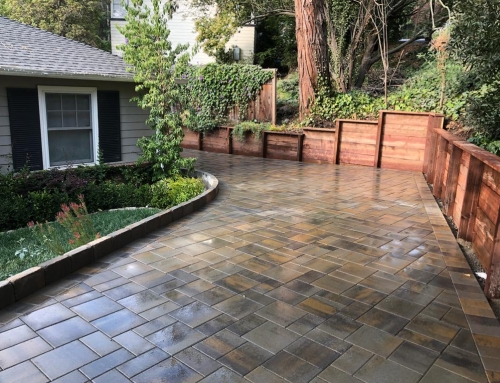
Maximizing Your Outdoor Living Space
An outdoor kitchen can transform your backyard into a coveted entertainment area. By carefully planning and designing your space, you can create an outdoor oasis that enhances your lifestyle and adds value to your home.
If you’re looking for professional assistance with your outdoor kitchen project, consider contacting an Outdoor Kitchen Contractor in Kensington CA. These experts can help you bring your vision to life and ensure your kitchen is both functional and beautiful.